Create Soil Brush Effect in Photoshop
6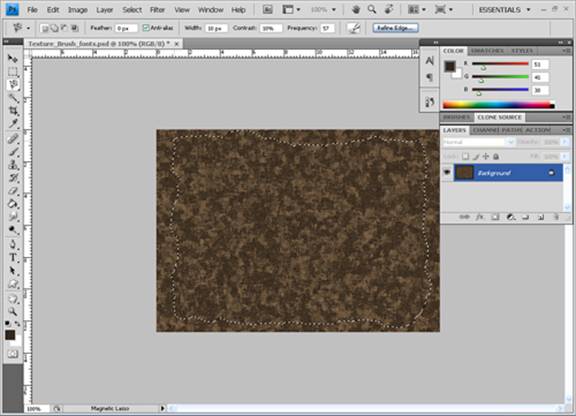
This tutorial is part of a series to create natural elements brushes in Photoshop and Adi will start with creating soil brush effect in Photoshop.
Introduction
I’ve usually tried to make the most of Photoshop and Illustrator’s resources. You are mostly forced to create most of it from scratch, so that you can give it your own style and look in different ways.
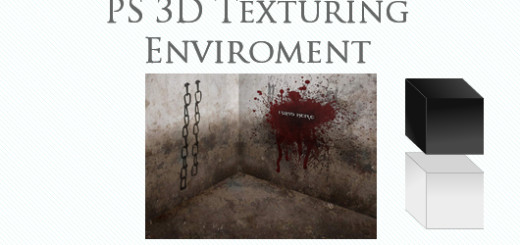
The final result of this tutorial will look like:
Create the Soil Texture
First, we will create the Earth (soil) texture for the brush. Please make sure to reset all the tools, we will begin step by step process to make soil texture starting from scratch:
1. Make a new default Photoshop size file and fill it with the brown color (#33291e) using Paint Bucket tool.
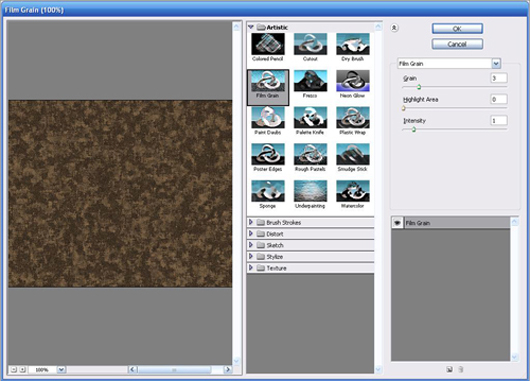
2. Apply the filter Sponge from the Filter > Artistic menu with the following parameters: brush (6), definition (13), smoothness (1)
3. Apply the filter Film Grin from the Filter > Artistic menu with the following parameters: grain (3), highlighted area (0), Intensity (1)
Now you should be having result like this:

That’s the required texture. You can add some rocks to make it realistic. For even more real effects or variation of soil effect on fonts and brushes you can also use real soil images such as:
http://www.scienceimage.csiro.au/mediarelease/images/cracked_soil.jpg
http://www.cornuecopia.typepad.com/soil2.jpg
http://bedavabunlar.deviantart.com/art/Soil-89508916
Converting Texture to Brushes
Now we are ready to develop brushes and font effects. Here we begin steps for the brush:
1. Open texture and select magnetic lasso, cut inside the edges the shape you want to give to the brush, and remember you can always use different designs for making brushes.
2. Cut and paste it so it is in new layer and hide all other layer.
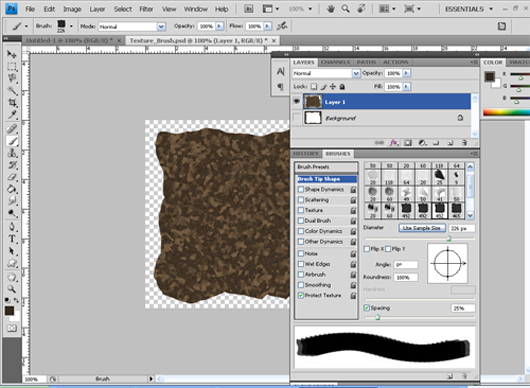
3. Go to edit define brush preset. The brush is ready to use. You can access it by simply selecting brush and in drop down list your brush is placed at last.
4. Now time to make some advanced changes open window>brushes or simply press F5.It will open brushes box where I’ve made following adjustment to make my brush look better.
To adjust default size of brush go to brush tip shape and select diameter around 300.You can also define new brush shape here if you are not happy with previous shape.
Select other dynamics and protect texture.
To save brush go to Edit>Preset Manager> Save Set.
If you want to make random brush color each time you click check color dynamics. There are some other advance options also which I will apply for the different brushes


nice tutorial, thanks 😀
great site 🙂 bookmarked
Thanks for the tutorial! xx