Introduction to Macro Photography – 10 Rules You Should Know About It
5Macro photography is one of the most popular types of photography in the world and this is only thanks to the very good photo devices we have today. Thirty years ago macro photography was not something everybody could do and it was definitely not something for which there were lots of techniques and tips. Luckily enough, today there are.
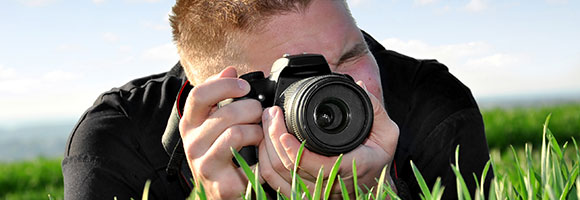
If you don’t know what macro photography is, let us define it as the close-up focus of a subject with the use of a high-quality and strong lens. The lens you need should be able to focus at a 1:1 ratio, otherwise the macro won’t be so effective. A 35mm camera has a 24x36mm area size in the film, so the focus has to be on the object which will fit into this kind of screen. The bottom line is that the subject which you focus on will be the same size as the image on the film, slide or negative.
Macro photography is widely used because it is easier to notice small details in different elements (a flower, portraits, butterflies, coins and so on). It’s not only that these details can’t really be noticed in reality if you don’t get too close to the subject, but having it on a screen might make you look at it for hours and not get bored. Macro photography is intriguing and exciting, yet not everybody can do it properly.
The good part about macro photography is that you can actually take pretty much everything in the focus. And bear in mind that not only nature can be the subject of a macro – let your imagination decide this, because there is no real limit.
The best choice for a macro is a SLR digital camera. If you have a model with interchangeable lenses then it is even better, because you can focus on the same subject differently. There are also special macro lenses out there and the 200mm and 180mm ones are the most recommended for macros. They are not cheap, but if you plan on getting serious with macro photography, then it is a good purchase and a smart investment for your career.
If you do not wish to spend a lot of money on lenses, then there are three other options: an extension tube, which goes between the camera body and the lenses, offering more space between the digital sensor and the film and this way allowing magnification, and the reversing ring, which helps you attack the lens in reverse. The last option is the close-up diopter, which gives closer focus ability, but the quality might not be so good.
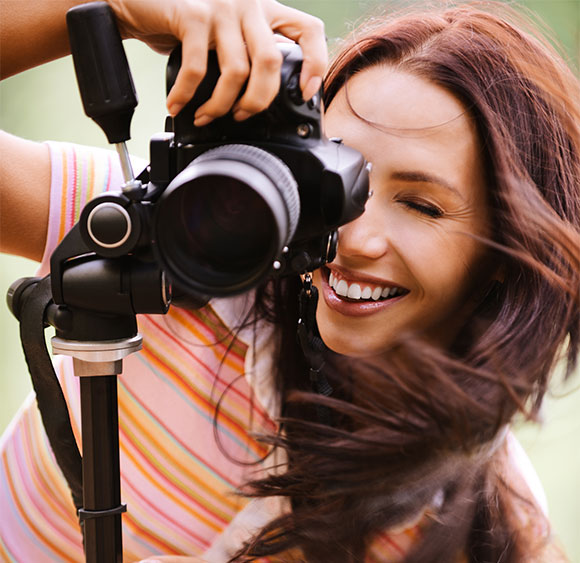
Image by shutterstock
If you plan on starting with macro photography, make sure you get a good tool. Lenses alone will not get the job done in style. However, they will do that if combined with high-quality camera devices, such as the Canon 1DS Mark III (+110mm macro lens). Nikon and Canon are usually very good brands for any kind of photo device, but the specific example above is a stand-out release of the Japanese manufacturer.
We do not wish to get too technical here as this is only an introduction, however, I hope you’ve heard of the F stop before. For macro it is a good idea to set it high, e.g. f/8. This helps getting a better depth of field. Increasing the F stop will make the aperture become smaller and then not enough light will reach the sensor. If you have a higher F stop, use a flash or lengthen the shutter time. You could also use other light sources, but I doubt you would carry them around with you all the time.
If you shoot a still subject I recommend that you use a tripod, because you do not wish the camera to move while you take the pictures. Subjects might not be so easy to see with the naked eye, however they can be explored pretty well if they are on focus in a macro photograph. Therefore you have to allow the camera to work at its best parameters, so don’t move it while taking pictures.
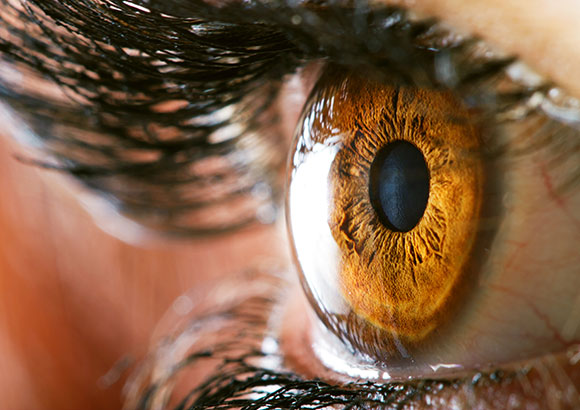
Image by shutterstock
Although I never used such things, textures and shapes might be useful, but you would have to look into those yourself. You can even create your own macro mini-studio and you only need a box for that. Open it in the front and top and drape any color of fabric over it. Reading lamps with reveal bulbs would be good for lighting your mini-studio, if you even plan to build one.
Here you can find a set of 10 rules to consider when going for macro photography:
Don’t shake the camera – As said before, it is vital not to move the camera while shooting, or at least to keep the shaking to a minimum. This is important in any kind of photography, but it is the most important in macro, because the camera has to focus in-detail on many elements in a short amount of time, whereas if you shot a landscape it would be far easier.
Effects – Although it might be a cheap trick, if you take pictures of flowers watering them before will give a better result, because it will look like early morning dew. But this is already for final touches.
Background – You would do well if you avoid having the same colors in the background as your subject, while bright lights and clutter might also draw the viewer’s attention away from the subject.
Post processing–If you take a macro in very light conditions, you could compensate by adding some positive exposure to compensate the underexposure. The same if you shoot in a very dark environment, although the final result will not be perfect for none of these two; natural light is the best, Tools can’t replace it.
Focus – The focus is very important, because it is the difference between a normal picture and a macro. All the photographers advise newbies to focus manually, even if the auto focus works quite well on the best devices. However, it is a good idea to have more control over the final result. When focusing, you should also try to do it on the mid portion of the subject.
Weather – Rain might not be a huge problem, however, macro photography in the wind is not likely to finish well. It is the same problem as with the camera movement, both the camera and the subject have to be still. The camera can’t focus on so many details on a moving object, therefore macro photography is not for cars or people in motion and so on. For that you have a simple focus, macro is totally different.
Sharpness – To maximize the depth of field you should use an aperture of f/11 to f/22. The camera has to be parallel to the subject for better results and don’t forget that macro doesn’t work most of the time from the first try. Take more of them until you get the desired result, don’t stop after the first one.
Light diffusing – If you go out and shot on a very sunny day, a diffuser will come in very handy. This tool helps to maximize the detail of the subject. But as said before, no tool can replace the original light, so the best time to shoot outdoors is an overcast day.
Close Up – The 1:1 life-size photo will give the best results, as said before. You need special lenses for macro and a focal length of between 100 and 200mm to achieve a proper working distance.
Flash – The last rule is about the flash. When you shoot in poor lighting conditions (both sunny and dark) it is a good idea to use it. I actually use it all the time, regardless of the weather outside. When used in dark, it gives a bit more light for the sensors. When used in sunny conditions, it eliminates the shadows. Therefore it is a good idea to have it on all the time.
Macro photography is not something new, but it was something quite rare until 10-15 years ago. There are still lots of things to develop in order to ease our way to perfect macro photography, but don’t forget – practice makes perfect! Don’t move on after the first picture, always take more and view them right away. Seeing them on a computer screen is definitely better, but it might be too late to go back and shoot the subject again.
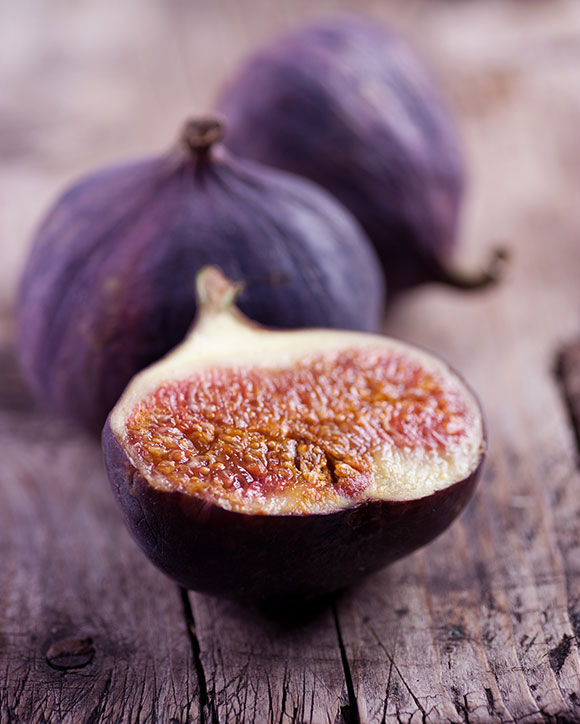
Image by shutterstock
Now go out there and try it yourself! This is the only way to become better at macro photography.
What do you think about macros? Is there something missing from this article or something you might like to add?



I love macro photography most specifically macro insect photography its a great tool to develop your skills within photography. What i dislike about macro photography is the hundreds of amateur close up flower shots around seem to make their way across the internet and get more credit than due!
But all in all a very Informative and in-depth post regarding macro photography would recommend saving this post to any beginner who doesn’t know where to start with Macro Photography.
Thank you 😉
this post so nice and interesting one to read.
this is a interesting post to read it.
[…] Introduction to Macro Photography – 10 Rules You Should Know About It […]