How to Create a Hand-Drawn RSS Icon in Illustrator
5Even in the middle of the digital artwork era, no one can resist the beauty of the spontaneous hand-drawn doodles.

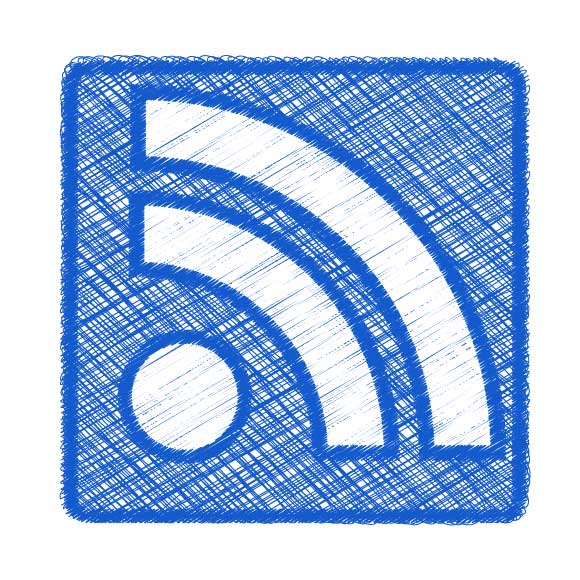
Now let’s see how to create this hand-drawn effect.
Step1:
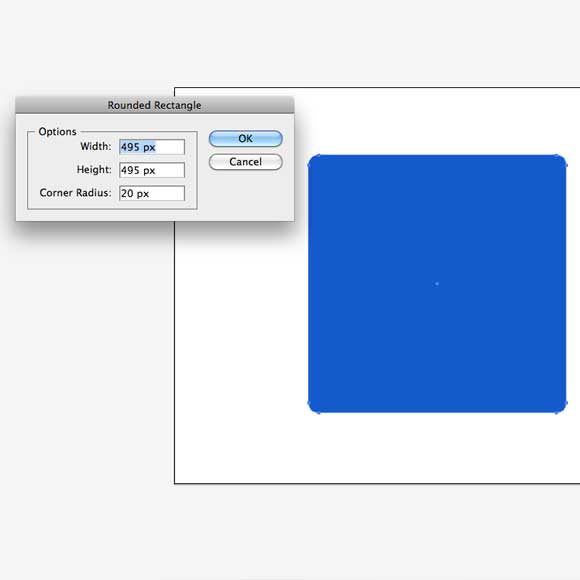
Open a new Adobe Illustrator file and create a rounded square using the Rounded Rectangle tool. Select the tool and click on the stage once. In the dialog box set the height and width for the square to 500 px and the Corner Radius to 20px. Click Ok to create the square.
Set the fill color of the rounded square to blue, similar to the blue ball-point pen and no outline color.
Step2:
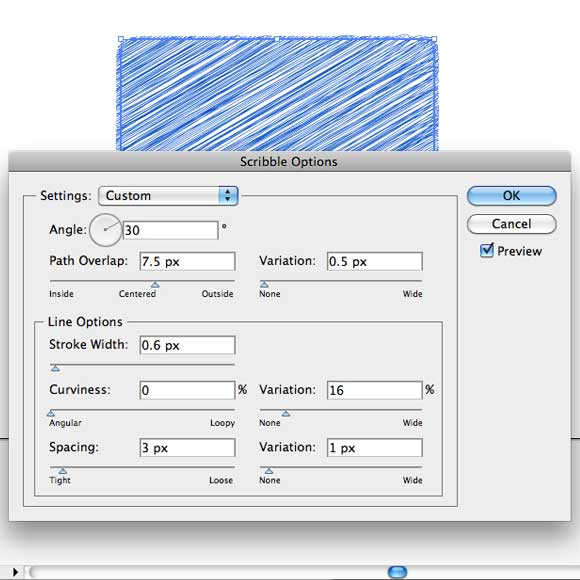
Select the blue square and from the Effect menu, select Stylize > Scribble. Set the Scribble dialog box values as below:
Step3:
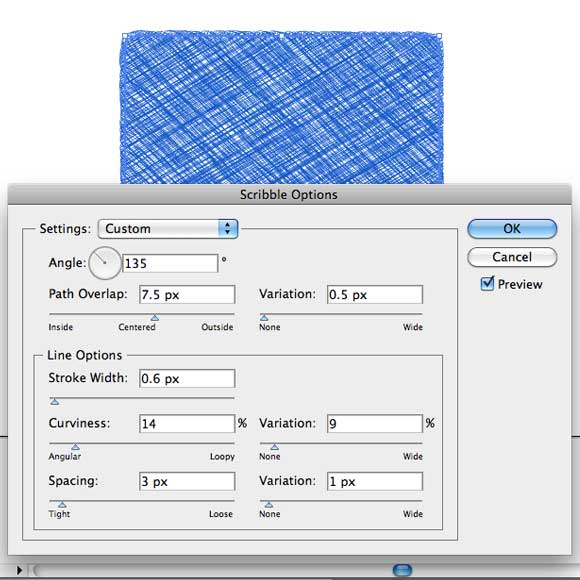
Duplicate the square’s layer. Select the new layer and double-click on the Scribble effect in the Appearance layer. Edit the direction and the information of the Scribble dialog box effect as below. This adds extra blue lines in the opposite direction to mimic the ball-point pen doodling effect.
Step4:
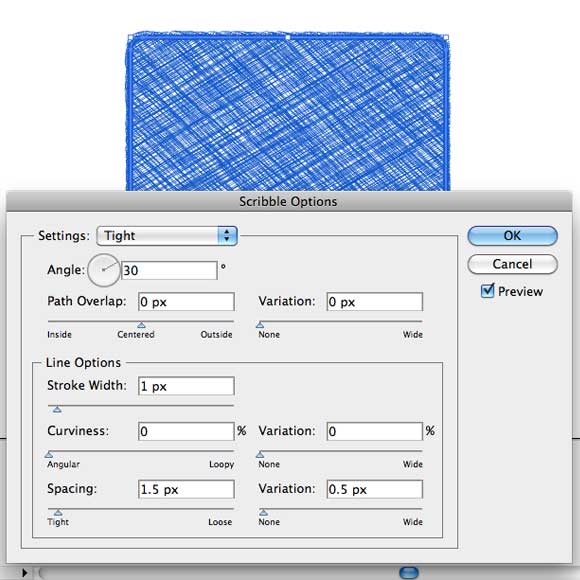
Duplicate the layer again to create the outline of the square. Select the top layer and from the Tools bar, select the Swap Fill and Stroke icon in the colors area. This will create a blue outline for your square. Go to the Appearance panel and double-click the Scribble effect and set its new values as below. Note that I have chosen Tight from the Settings drop-down list
Step5:
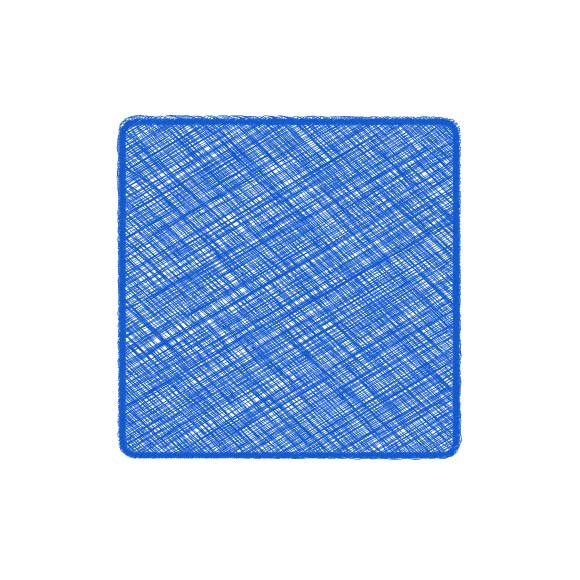
The final results of the square part should look like the one below:
Step6:
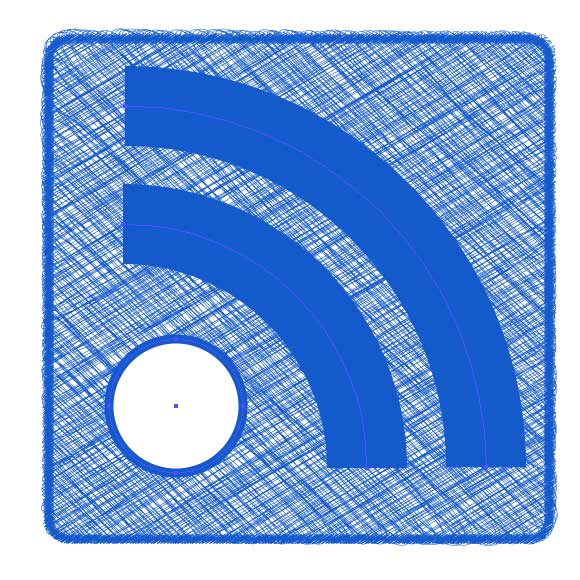
Now it is time to create the RSS feed icon’s inner shapes. Use the Circle and the Arc tools to create the shapes below. Make sure you increase the stroke of the arcs to give them some width.
Step7:
Select the arcs and select Expand from the Object menu to convert the shapes into two objects with fill and stroke. Set the stroke to blue and the fill to white.

Step8:
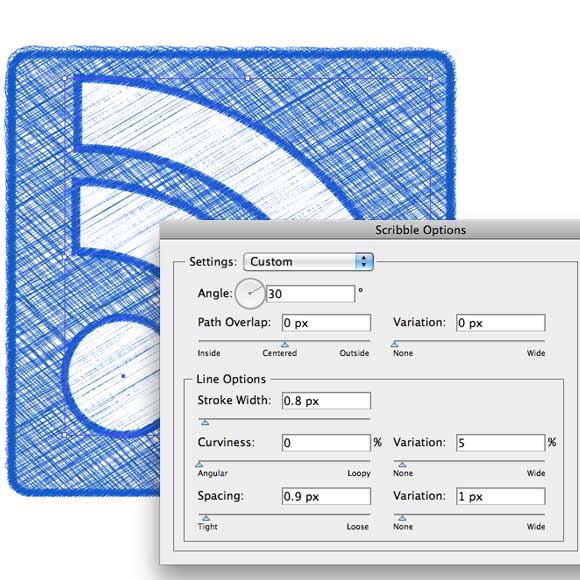
Select the circle and the two arcs and choose Stylize>Scribble from the Effects menu.
Step9:
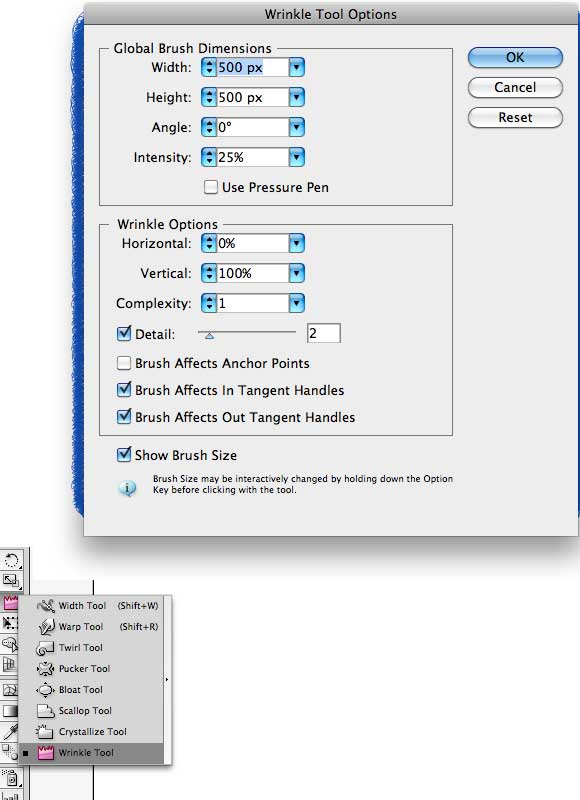
Now we will add some random edges to the inner drawing using the Wrinkle tool from the Tools bar. Double-click the Wrinkle tool and set its properties to 500px width, 500px height and the intensity to 25%.
Step10:
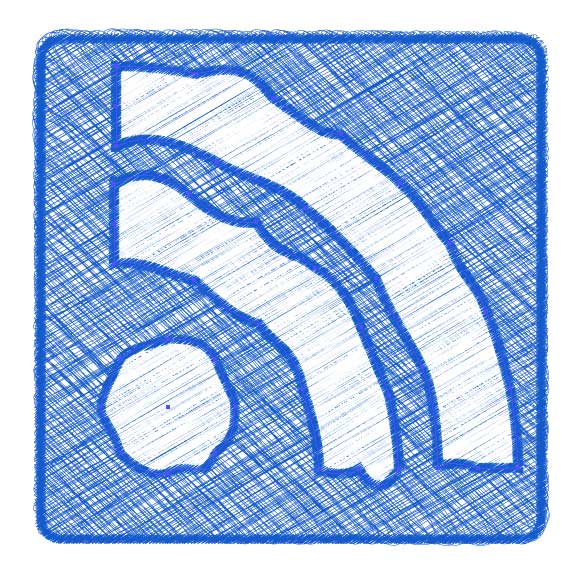
Lock the square and the outline’s layers and select the inner shape layer. Drag slightly over the shape to give its lines a more random effect like below:
Step11:
Apply the above steps to other icons, such as the Twitter and Facebook icons like below.



I hope you enjoyed this tutorial and found it useful. You can download the source files of the three vector icons below.
[amember_protect guests_only] If you are already a Premium Member then just sign in and you can download the source files of this tutorial.Not a member? Sign up today or read more about our Premium Member area.

[/amember_protect]
[amember_protect user_action=’hide’ visitor_action=’hide’]




Short and sweet, great job!
nice tutorial, thanks for the post.
Very useful. Thanks
Wow, great tutorial!! Thanks a lot!!
[…] How to Create a Hand-Drawn RSS Icon in Illustrator […]