How to Create a Photo Manipulation Poster in Photoshop
2Adobe Photoshop is an extended application and learning about what we can do with it never ends. One of the most useful methods for learning tips and tricks in Photoshop is to follow the How-to Photoshop tutorials. In today’s tutorial, we will learn how to create a photo manipulation poster of a man with a floral effect in Photoshop.
Related posts:
- Quick Tip: How to Create a Seamless Pattern in Photoshop
- How to Create Islamic Style Poster in Photoshop
- How to Customize Skyscraper Background in Photoshop
- Amazing Photo Manipulation Tutorials
- How to Create a Comic-Book Style Image of Yourself
- How to Create HDR Photos in Photoshop CS5
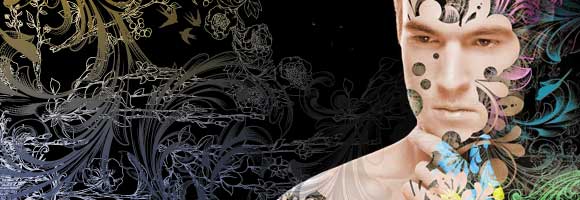
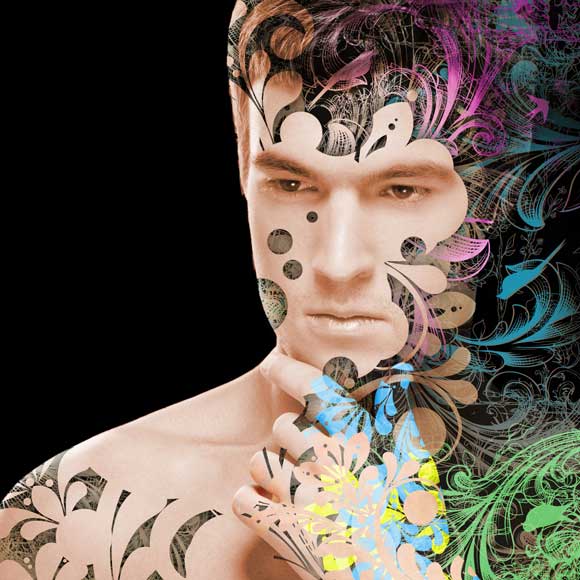
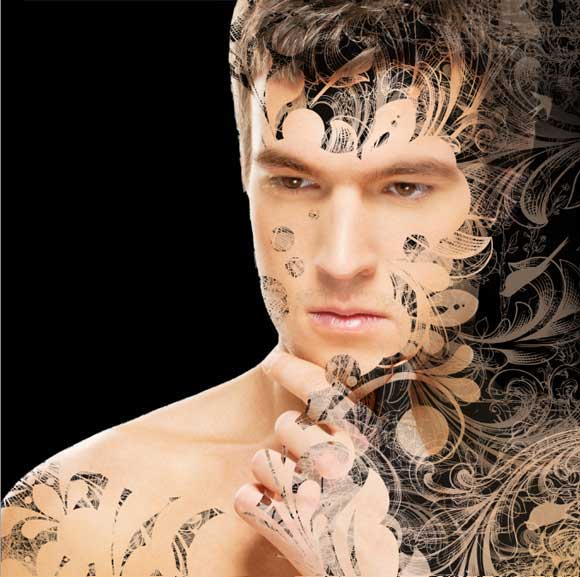
This is an advanced level tutorial that requires previous knowledge of Photoshop in which we will use the Masks, Gradient and the Adjustment Layers to create the floral effect as it appears in the final preview below:
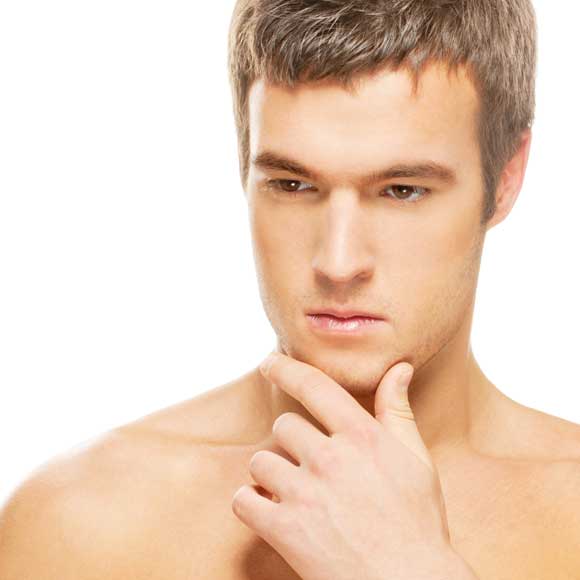
During the tutorial, we will use the following images from Shutterstock.com:
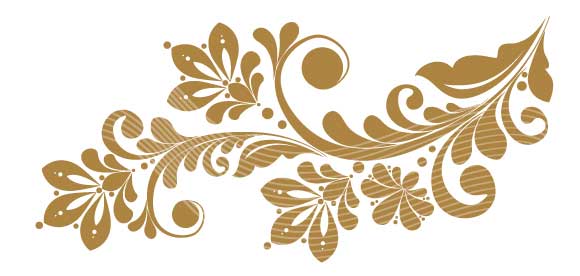
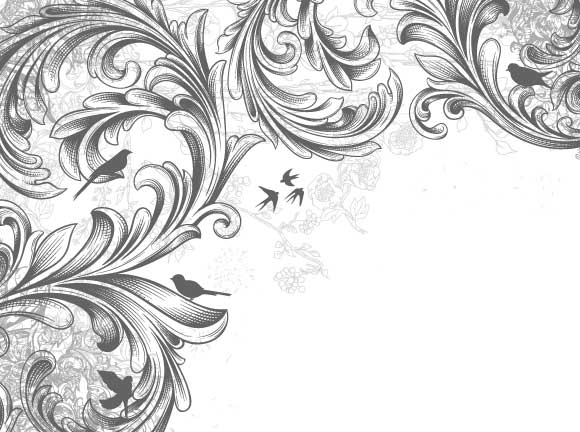
The following vector shapes will be used as part of the mask that we will discuss later.
Now, let us go through the steps to see how to create this photo manipulation effect. If you have any questions, please add it in a comment and I will be happy to answer.
Step1:
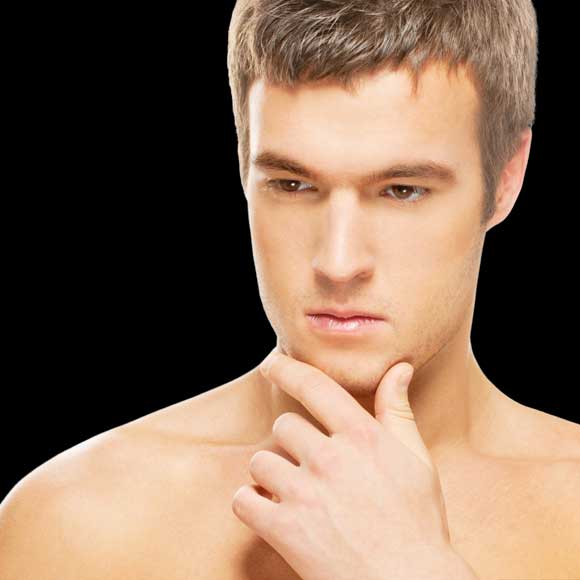
Open the image of the man in Photoshop. Create a path around the man using the Pen tool. From the Path panel, click the Selection icon to convert the path into a selection. Reverse the selection to delete the white area and set the background color to Black.
Step2:
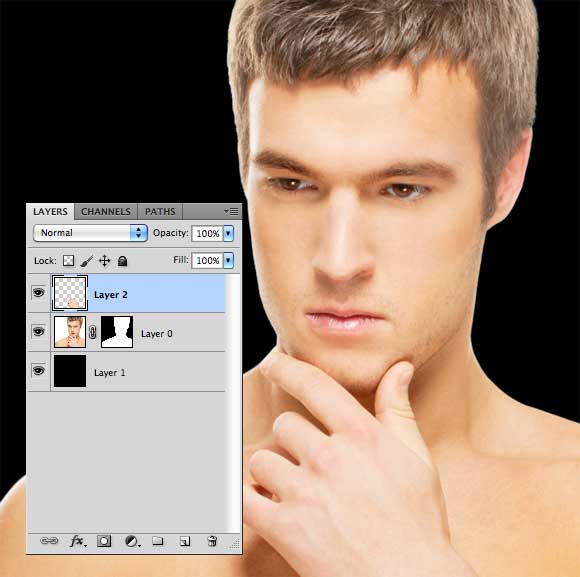
Using the Pen tool, select the man’s hand and isolate it in a new layer so that we can apply a different set of masks to it.
Step3:
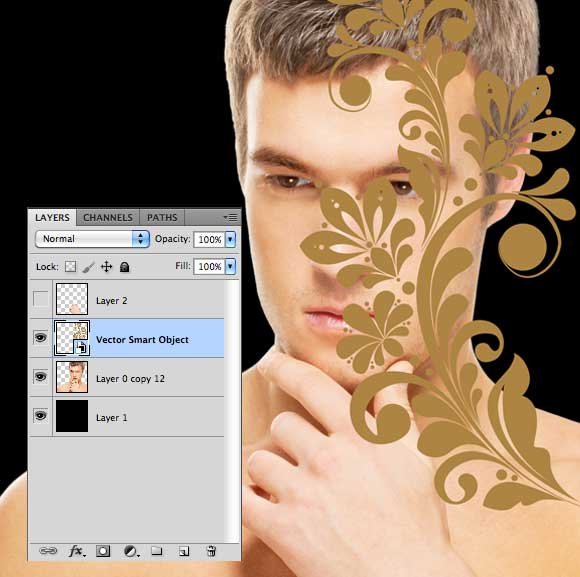
Duplicate the layer of the man and hide the original layer. Then, Copy one of the motives from Illustrator to Photoshop as Smart Object. This way we can easily resize it without losing the quality of the artwork. Then we will place it on the man’s layer as below.
Step4:
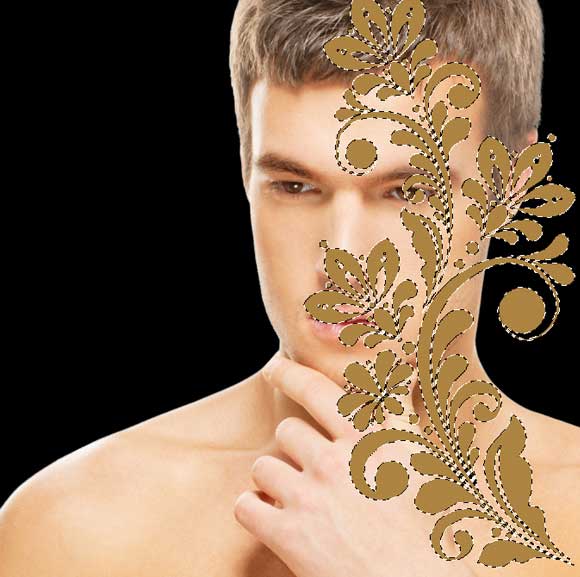
Now let’s create a mask over the man layer and create a selection from the vector motive layer. Click on the motive layer thumbnail while holding down Cmd (Ctrl in Windows). After doing so, hide the vector’s layer.
Step5:
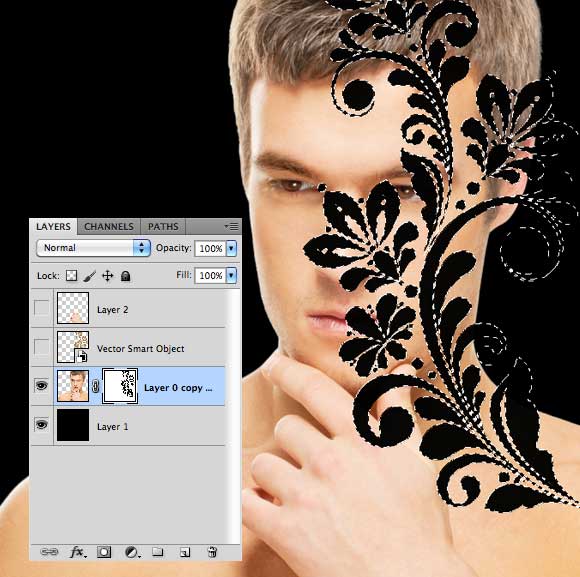
While the previous selection is active, select the mask thumbnail in the man’s layer. Fill the selected area with Black color, which will remove the selected area in the man’s layer like below.
Step6:
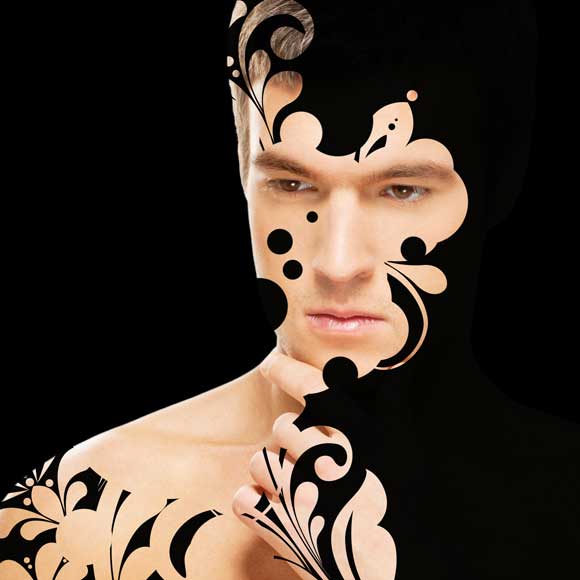
Repeat the above steps with a different position and size for the vector artwork to get a more complex floral effect.
Step7:
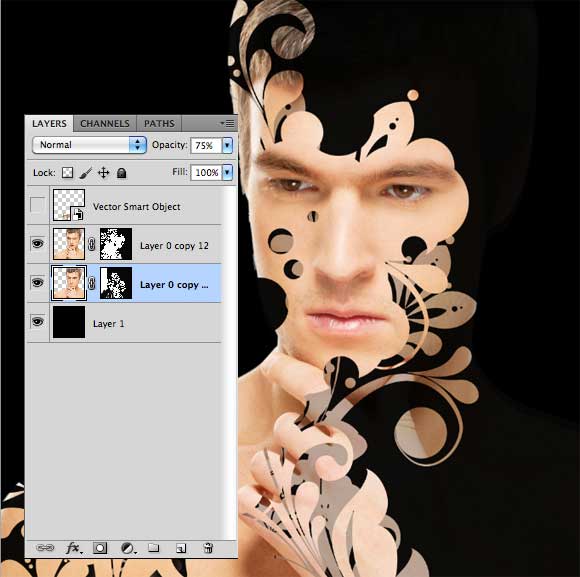
Display the man’s layer that we had hidden before and duplicate it. Place the copy under the man’s layer that we masked above. Repeat what we did with the masks above on the lower layer to get the effect shown below.
Step8:
Now open the other vector artwork in Illustrator and copy it to Photoshop as Smart Object. Reveal another copy of the man’s layer and place the vector artwork over it. Make sure you have these layers under the previous effects’ layers.
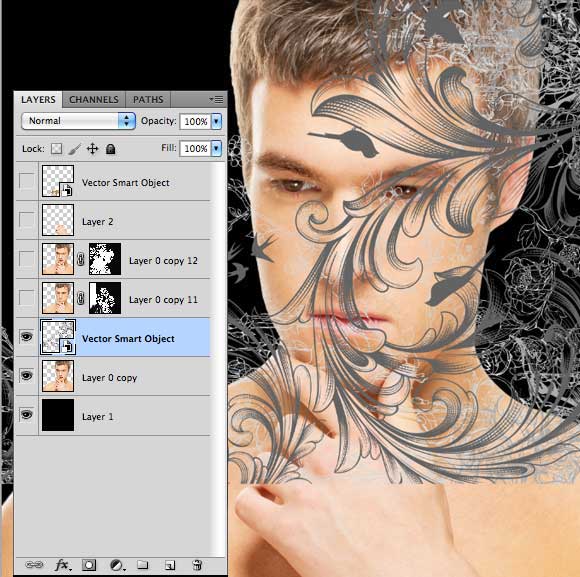
Step9:
Similar to what we did before, create a mask over the man’s layer. Make a selection from the vector artwork layer, then select the man’s layer mask and fill the selection with a black color to hide parts from the man’s layer. The results should look similar to the figure below.
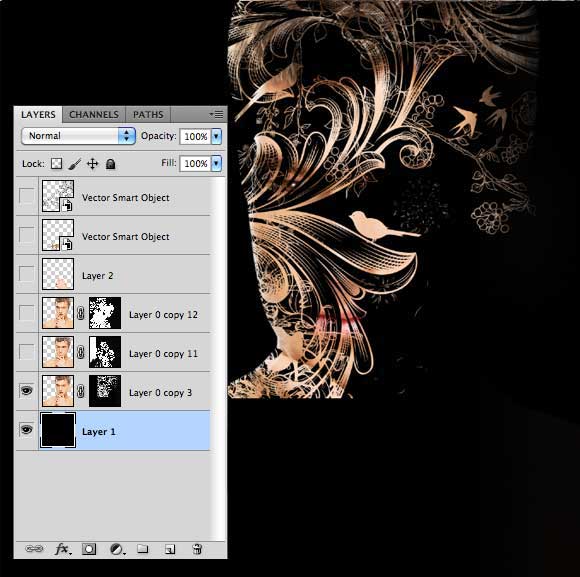
Step10:
Repeat the above effect on other copies of the man’s layer arranged under each other. Change the scale and position of the artwork to create different style selection and apply it to the masks. The results should like below.
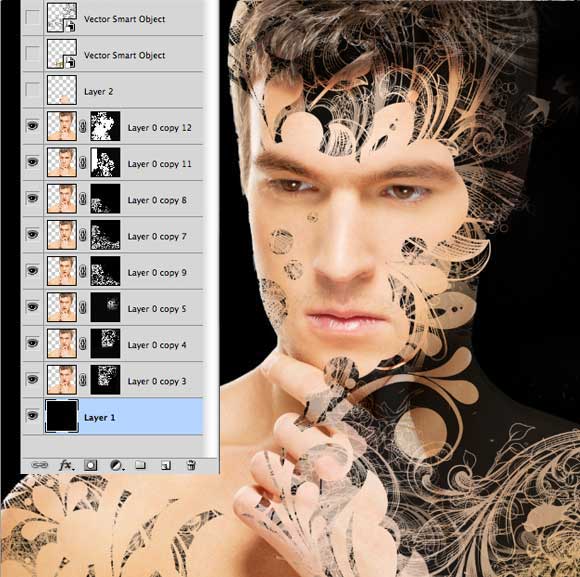
Step11:
As you can see there are parts of the vector art that do not appear, because there is no fill under their selection in the man’s layer. So we will need to display parts of the vector floral to appear outside the man’s head and body.
First, we will set the foreground color to the same color as the man’s face using the Eyedropper tool. Then we will paint the man’s layers with the Brush tool to display the vector floral parts as below.
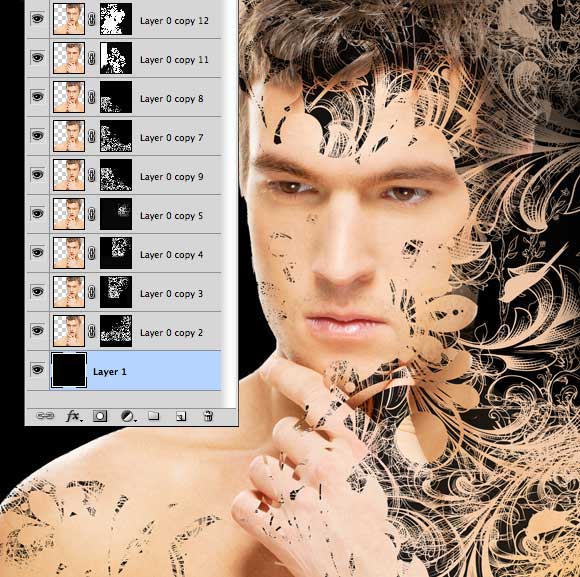
Step12:
Change the lower layers’ opacity to give them a different look and feel than the top layers. Set different opacity values for each layer so the result will look like the one below.
Step13:
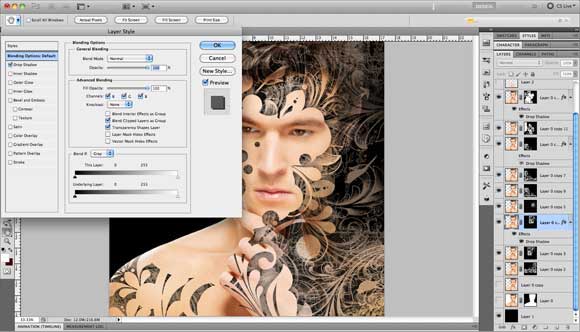
Now we will give the layers more depth by adding a drop shadow effect to the top layers.
Step14:
Now let us move to another interesting part in this tutorial, which is giving the layers some colorful look, using the Hue and Saturation adjustment layers.
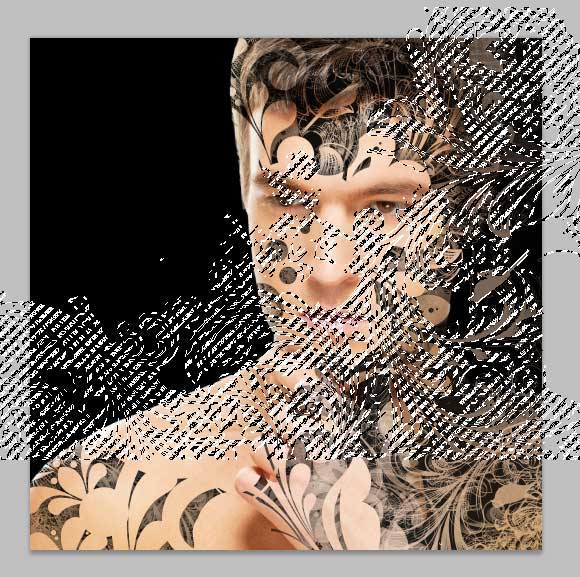
First, select one of the man’s lower layers and while holding Cmd (Ctrl in Windows) click on the mask thumbnail next to the layer thumbnail to create a selection of the layer.
Step15:
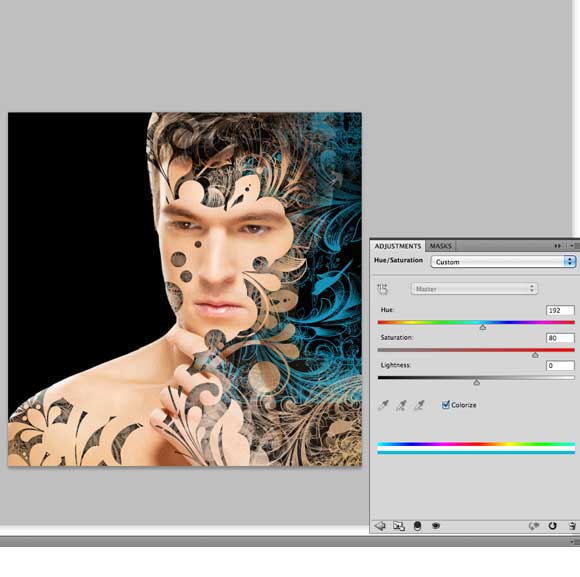
Click on the Adjustment icon to create an adjustment layer that affects only the specific selected area. In the Adjustment panel check the Colorize checkbox. Set the Hue to 192 and Saturation 80.
Step16:
Select the Adjustment layer mask thumbnail and use the Gradient tool to blend the sharp edges of the layer so that they blend with the background colors.
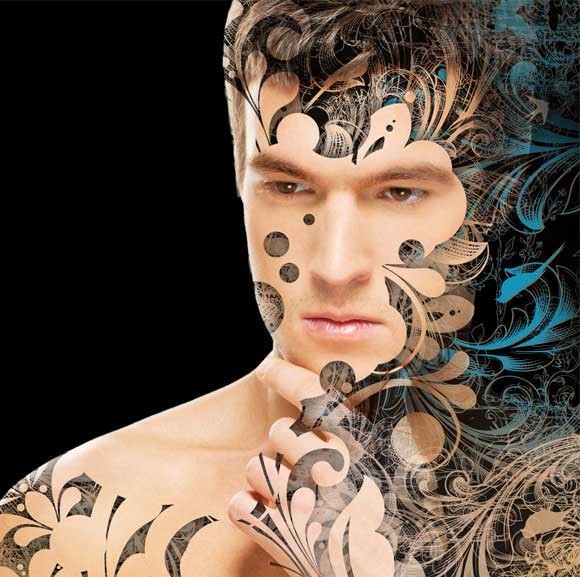
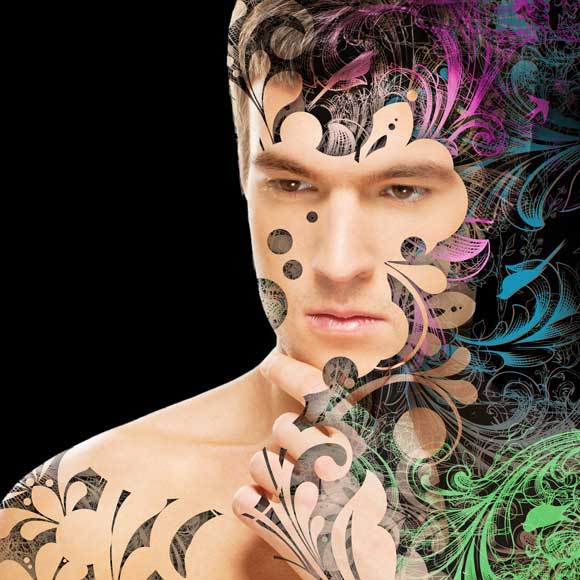
Step17:
Repeat the above steps for color adjustment using different colors for the different layers. The results will look like the figure below.
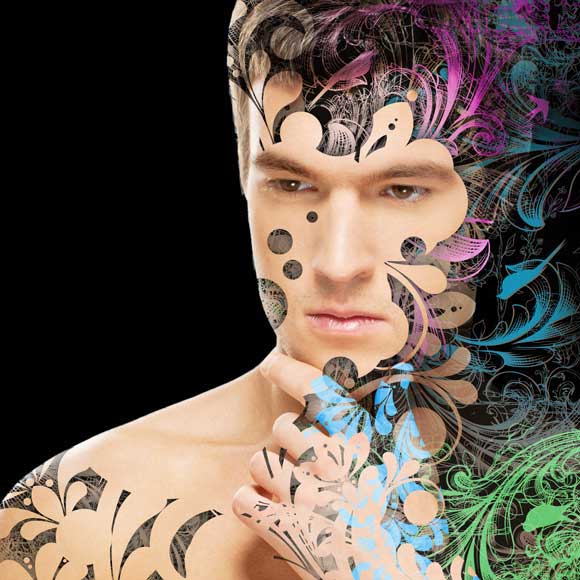
Step18:
Now display the Hand layer and repeat the steps we did in the man’s layer to have different styles of vector masks and colors.
Step19:
Finally, we will add a global adjustment layer. Select the top man’s layer and Cmd (Ctrl in Windows) click on the mask thumbnail. Then Select Hue and Saturation from the Adjustment icon.
Check the Colorize checkbox, set the Hue to18 and Saturation to 47.
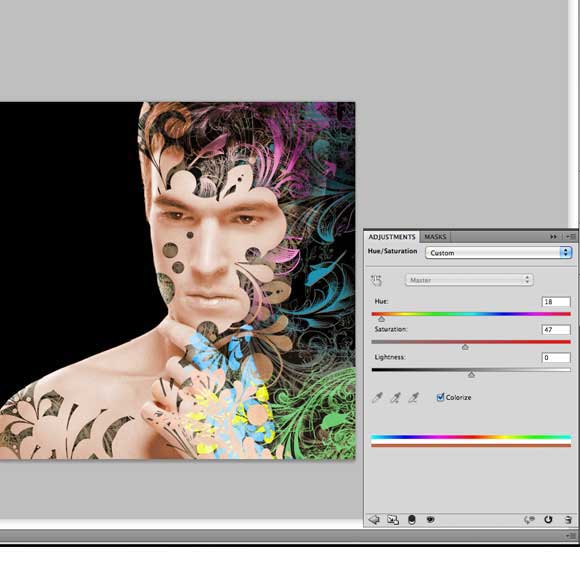
Step20:
You can add different styles of vector masks and different color combinations, so the final result should look similar to this image below.

Finally, I hope you find this tutorial useful and you can download the source file below.
[amember_protect guests_only] If you are already a Premium Member then just sign in and you can download the source files of this tutorial.Not a member? Sign up today or read more about our Premium Member area.

[/amember_protect]
[amember_protect user_action=’hide’ visitor_action=’hide’]



Cool Tuts. thanks for share:)
super cool .goon sir.