The Levitation Photography Cheat Sheet: The Jump Shot Guide
5It may not be possible to fly like Peter Pan in real life, but with levitation photography, we can stay in the air forever. The emergence of photo-editing softwares like Photoshop has led to an explosion of all kinds of trick photography as people add or remove things from pictures, change colors and lighting, and use effects like blur to create something totally new.

One such “trick” kind of photograph that has become particularly popular of late is the levitation picture. With the right digital photo-editing software, all you need to do is snap a picture of someone or something on top of an object, then edit out that object and it looks like they’re just floating there magically.
Related posts:
- Introduction to Macro Photography – 10 Rules You Should Know About It
- Beautiful Examples of photojournalism
- 25 Stunning Examples of Waterfalls Photography
- 25 Marvelous Examples of Underwater Photography
- Amazing Photography of Bread and Shutter
But people were creating “levitation” images long before Photoshop was around, so it is quite possible to do without having to purchase an expensive editing program. Perhaps the most ubiquitous levitation technique that doesn’t involve digitally manipulating the photo is the jump shot.
What’s a jump shot? Pretty much exactly what it sounds like. The very simple and basic idea is that you snap a photo of yourself or someone else jumping so that it looks like the subject of the photo is just hovering there in the air.
When these are done well, such as with Tokyo’sfamous “LevitatingGirl,” they can look almost supernaturally awesome and inspiring. However, getting a great shot is far harder done than said, and even the Levitating Girl herself has admitted taking many of her pictures around 500 times before she gets the right shot. Do it wrong, and it will just look like someone who is jumping.
So, what exactly do you need to get great levitation jump shots? Read on to find out.

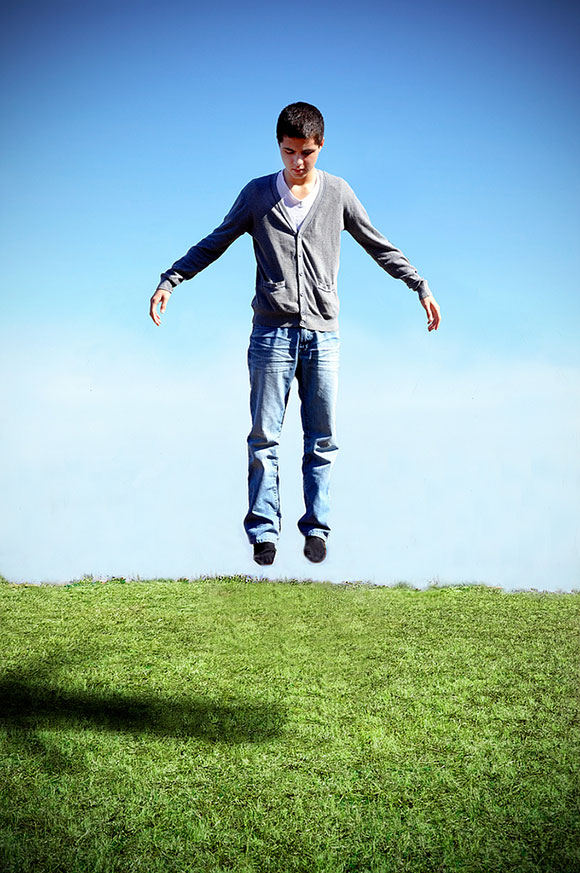
Image by Andrew Byrne
The Right Equipment
Technically, the only thing you really need to get a great jump shot is a camera, some patience, and a friend. Why a friend? Because if you’re just using any old camera, one person will need to take the shot while the other jumps.
But that’s the absolute cheapest way to take levitation jump shots, and it’s not recommended if you want something truly cool. No one is saying that you have to run out and buy the most expensive SLR you can find (though better cameras do often lead to better pictures), but there are a few pieces of equipment that will make your job a lot easier.
- A tripod – Since the point of a levitation jump shot is to catch a freeze frame of a person with no blur that could be associated with physical movement, getting a decent tripod really is worth the money.
- A timer function – Really, this is about getting a camera with a timer function, but hopefully that’s obvious. Why is this so important? Because you can’t take levitation photos by yourself if you need to be behind the camera snapping the picture.

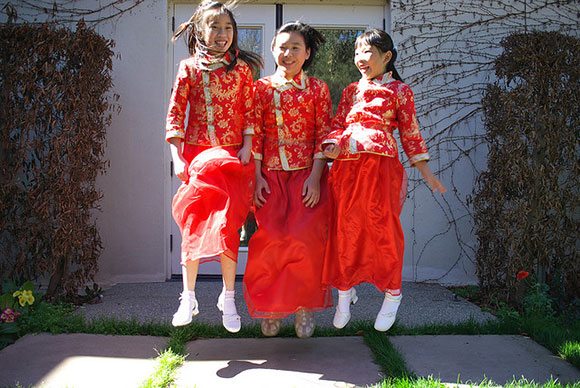
Image by Raul Ocampo
The Right Settings… and Set Up
For the most part, camera settings aren’t all that important for levitation jump shots – with one very important exception. You need to make sure you have a very fast shutter speed.
How fast? Back to our famous girl in Tokyo, she says she uses a shutter speed of 1/500th of a second. This kind of speed is important because you need to be able to catch the jump at the perfect time or it won’t look good.
Beyond shutter speed, where and how you set up the shot are usually more important than the settings you use. In general, it’s best to avoid crowds. While a good levitation jump shot in a crowd can look amazing, it’s a lot harder to make sure that the rest of the people in the shot will just go about their business, and if just one person is staring, it can ruin the mood.
The other thing to consider is the angle at which you want to shoot. Simple straight on or side view shots tend to be very dependent on the subject – something we’ll get back to in a second. In some cases, shooting from a low angle can create the sense that the subject is flying right over the viewer and can really enhance the shot.
Unfortunately, the same cannot be said of taking pictures from above your subject. In most cases, this simply makes it look like the person in the shot is falling or headed back to earth.

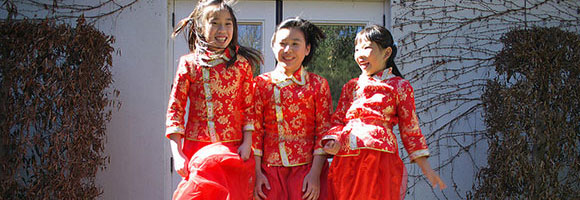
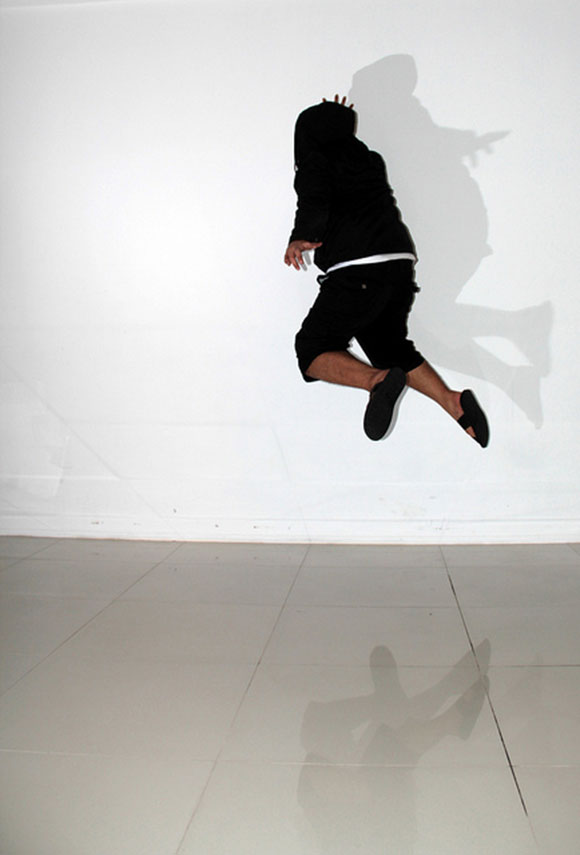
Image by Cahaya Dalam
The Right Pose… and Clothes
Probably the thing that will most determine whether your levitation shot is good or not is the pose of the person you’re photographing. Too many people just don’t know how to jump without it looking like they are jumping, and that comes across in the images. How can you avoid this in your shots?
- Flat feet. When we jump, we tend to point our feet down to get some extra bounce. Unfortunately, this is a clear indication that the person is jumping, so when doing a straight jump up and down picture, work to get your subject to keep their feet flat throughout the jump.
- Momentum. If the idea is that the person in your photo is just floating through life, then try to make them look like they are going somewhere. Instead of just jumping straight up, have them jump forward and bring their lower legs up or “jump walk” so that it looks like they’re striding in mid-air. The more the pose can convey the idea that they are headed in a particular direction and floating is just how they get there, the better.
- Attitude. As important as the pose is, the attitude or facial expression of your subject may matter even more. You want them to appear nonchalant, as if this is just a regular occurrence for them. If it helps, allow them to use a prop like a book to read or a smartphone to look at.
- Clothes and hair. Too few people think about how their subjects’ clothes and hair are going to look in a levitation picture, but when you’re doing jump shots, those things can be very important. Ideally, you want clothes and hairstyles that won’t look like they’re moving up and down much. You can get away with it if you manage to get the momentum part right and it appears that their clothes or hair are billowing out behind them, but otherwise it’s another clear indicator of a jump.


This is a neat idea and quite easy to achieve.
Also make sure when you retouch out the object being stood on that there are no obvious clone lines. If you look closely at the first image you can see clone repetition in the grass.
This is hypocritical. I can see the clone tool marks in the image by Andrew Byrne of the boy jumping (well, hardly!). pretty bad result.
[…] The Levitation Photography Cheat Sheet: The Jump Shot Guide […]
[…] The Levitation Photography Cheat Sheet: The Jump Shot Guide […]
[…] The Levitation Photography Cheat Sheet: The Jump Shot Guide […]